Part of this series of posts: Oracle Database 12c on Oracle Linux 6

Note:
You don’t actually need to run the commands in the above screen shot.
Notice that uname –r has a different kernel version (…400.17.1) than the kernel in /usr/src/kernels (…400.209.1). We’ll have to reboot to get the new kernel loaded so that we can build the Oracle VirtualBox extensions on our system. This is a common problem that folks have when the install the VirtualBox guest extensions (one of our future steps). They don’t reboot the machine after updating the kernel and the guest extensions won’t compile correctly. There is a VERY good chance that your kernel version will be different from the one above.
Rebooting also makes sure that SELINUX is disabled (one of our earlier steps).

Select System -> Shut Down… from the menu.

Click Restart.
Note:
You’ll see a lot of messages from the system as it goes down and then comes back up. Eventually you’ll see the below screen.
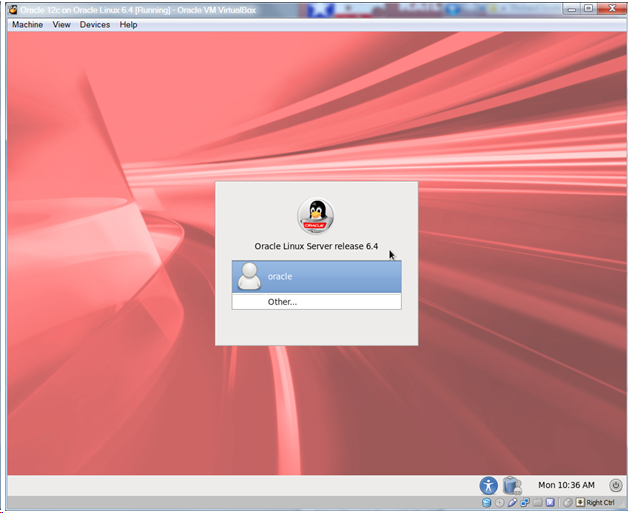
Click oracle.

Type oracle in the password field and click Log In.
Note:
Optionally jump ahead to Step 30 and then come back here if you want to do the rest of the install with a full screen guest.
Oracle Database 12c on Oracle Linux 6 – Step 17: Create the Directories for Installing Oracle Software < Previous Post – Next Post > Oracle Database 12c on Oracle Linux 6 – Step 19: Download and Extract Oracle Database 12c

April 2nd, 2014 at 7:12 pm
[…] Step 18: Reboot the System to Run the Latest Patched Kernel […]
May 12th, 2014 at 4:47 pm
[…] Oracle Database 12c on Oracle Linux 6 – Step 16: Configure ASM and Create the 13 ASM Disks < Previous Post – Next Post > Oracle Database 12c on Oracle Linux 6 – Step 18: Reboot the System to Run the Latest Patched Kern… […]
May 12th, 2014 at 4:50 pm
[…] Oracle Database 12c on Oracle Linux 6 – Step 18: Reboot the System to Run the Latest Patched Kern… < Previous Post – Next Post > Oracle Database 12c on Oracle Linux 6 – Step 20: Download and Extract Oracle Database 12c Grid Infrastructure […]