Part of this series of posts: Oracle Database 12c on Oracle Linux 6

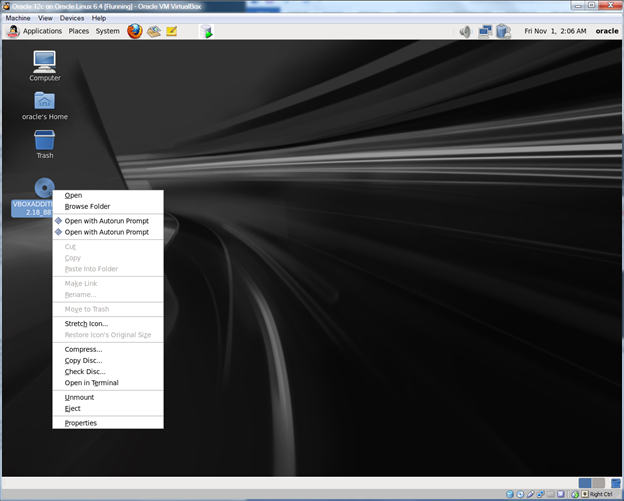
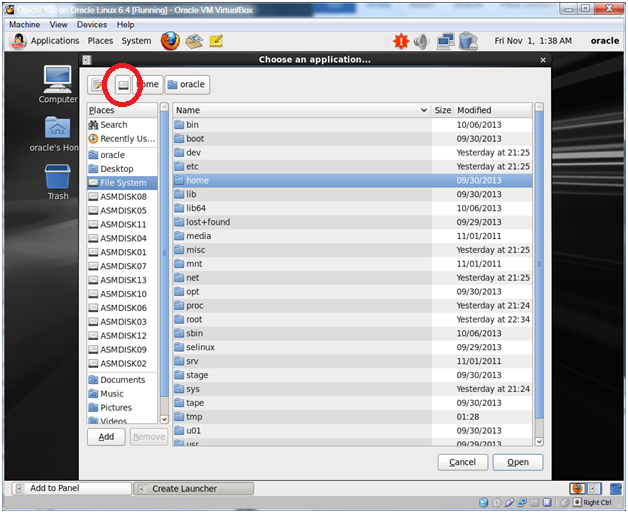
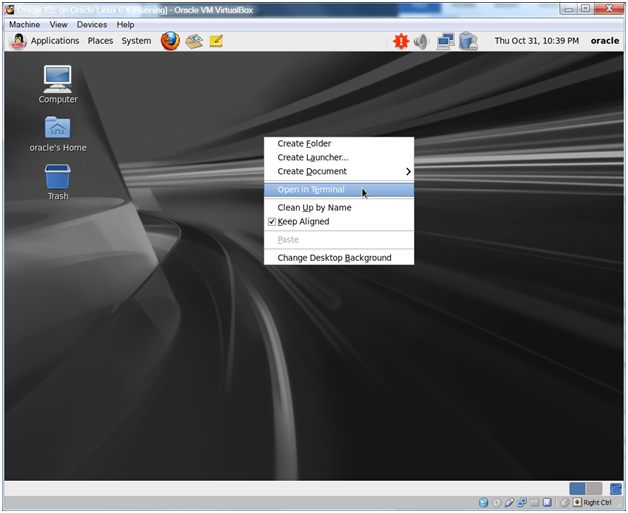
Open a new terminal window by right-clicking the desktop and select Open in Terminal.

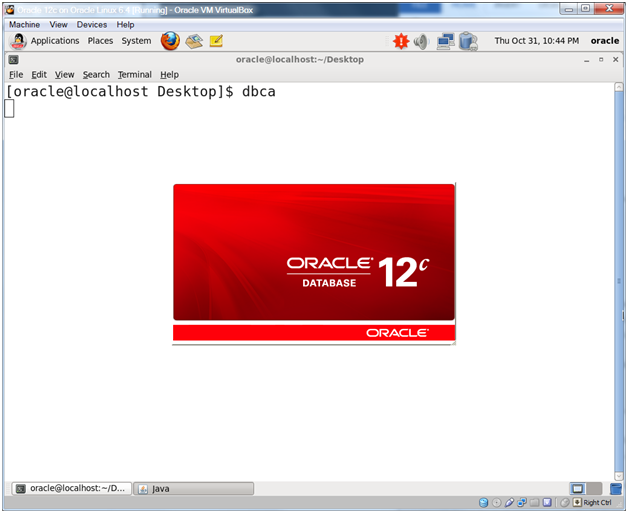
Type the following command and press Enter.
dbca

The installer will start after a while (Java has to start up on the machine).

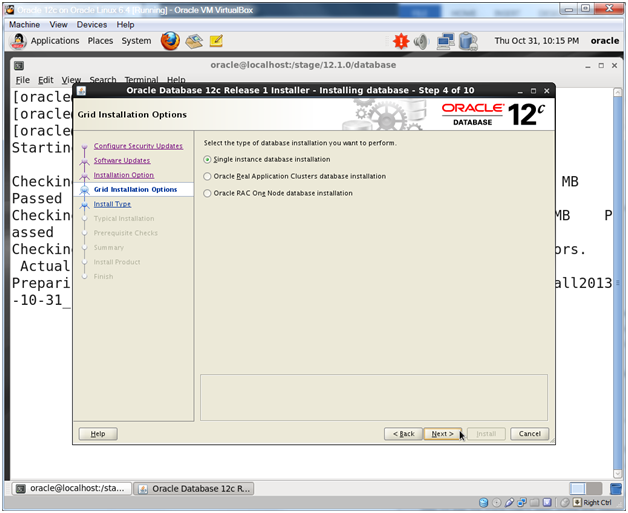
Click Next.

Choose Advanced Mode and click Next.
Note:
If you don’t want to install the sample schemas then you can just create a database with the default configuration, however do make sure to change the default character set to AL32UTF8.

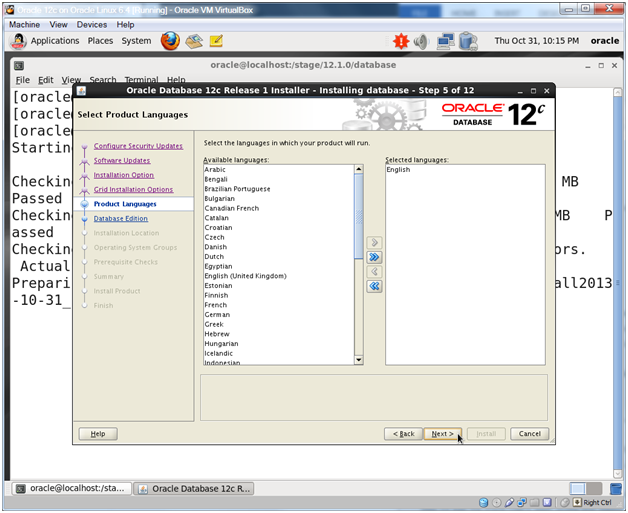
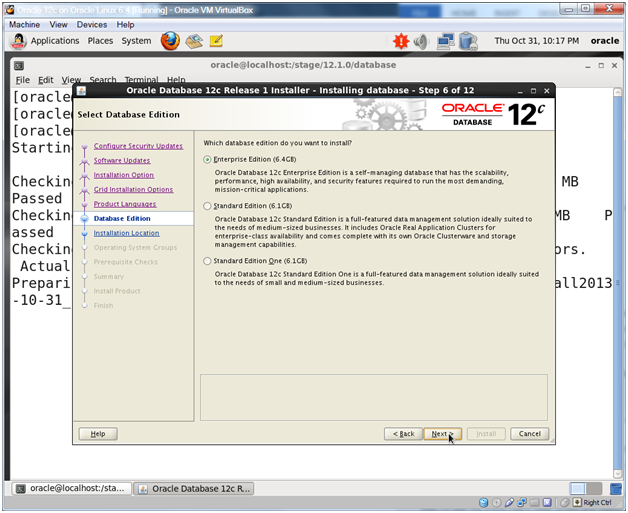
Click Next.

Enter orcl.localdomain for Global Database Name. This will auto populate orcl for the SID.
Check Create As Container Database and enter pdborcl for PDB Name.
Click Next.
Note:
If you are in my Oracle Database 11g Admin I or II course at Austin Community College and you are using 12c for your own test server at home, you may want to skip the pluggable database part and just stick with a ‘regular’ orcl instance so your environment matches the Oracle training materials more closely. If so, don’t check the Create As Container Database check box.

Click Next.

Choose Use the Same Administrative Password for All Accounts and enter oracle_4U for Password and Confirm Password.
Click Next.

Click Next.
Note:
Our ASM listener (notice LISTENER is in the grid home) supports dynamic instance registration.

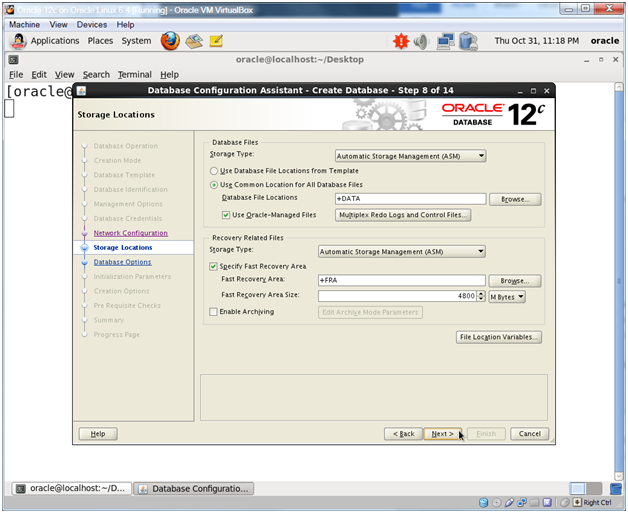
Change both Storage Type dropdowns to Automatic Storage Management.
Change Database File Locations from +FRA to +DATA.
Change Fast Recovery Area from +DATA to +FRA.
Click Next.
Note:
In any type of production situation you’d be enabling archiving. However since this is a learning environment we’re going to leave that unchecked for now.

Check Sample Schemas and click Next.

Confirm that Use Automatic Memory Management is checked. Enter 2048 for the Target database memory. Don’t click next, but instead click the Character sets tab.
Note:
Why so little memory? Two reasons: First, this is just a test or classroom system. Second, if the memory size is too large then you’ll get an error because /dev/shm will need to be resized to potentially fit the amount of memory allocated to Oracle. For very large amounts of memory you’ll want to look into enabling HugePages on Linux which means that you won’t be able to use Automatic Memory Management (AMM).

On the Character sets tab, choose Use Unicode (AL32UTF8) and click Next.
Note:
These days Unicode should be used for your Oracle databases. Oracle is requiring Unicode for some products and Java applications use Unicode natively so you won’t have to do character set conversions between the database and your application if you use Unicode.

Click Next.

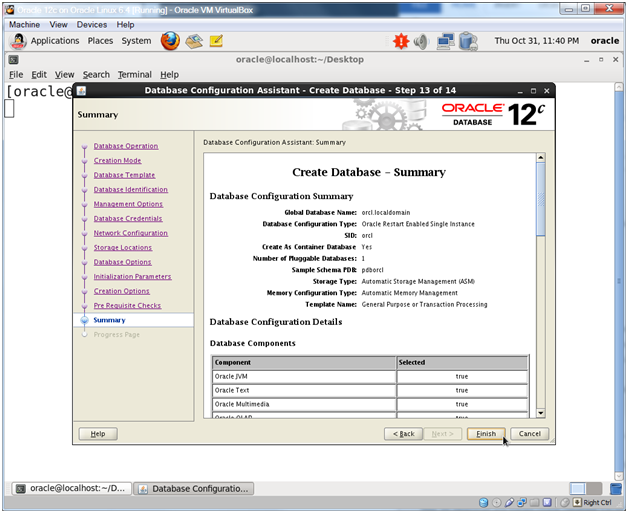
Click Finish.

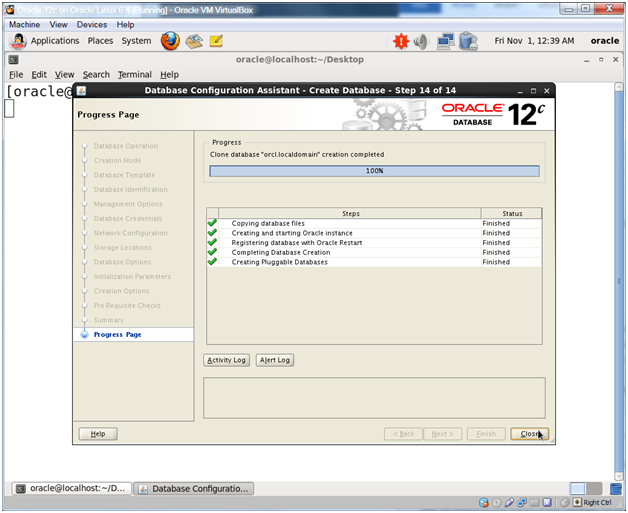
The installer will run for a while…

Click Exit.

Click Close.
Oracle Database 12c on Oracle Linux 6 – Step 24: Install the Oracle Database Software Only < Previous Post – Next Post > Oracle Database 12c on Oracle Linux 6 – Step 26: Modify glogin.sql