Part of this series of posts: Oracle Database 12c on Oracle Linux 6
Step 1 tends to change a bit between versions of VirtualBox. While the basic steps are pretty close, when the Windows UAC popups appear and some of the dialog boxes change a bit. Basically we’re going to download the software and walk through the wizards clicking next and then download the extension pack. Below is the latest install that I did.

Open Firefox and go to http://virtualbox.org.

Click the Downloads link.

Click the x86/amd64 link.
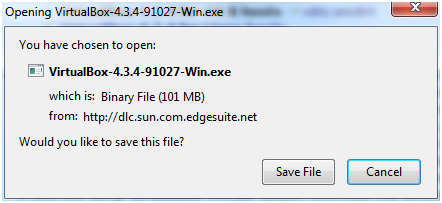
Click Save File.

Open Windows Explorer and navigate to your Downloads directory and double-click the file you just downloaded. Note that it’s OK if the version number is different.
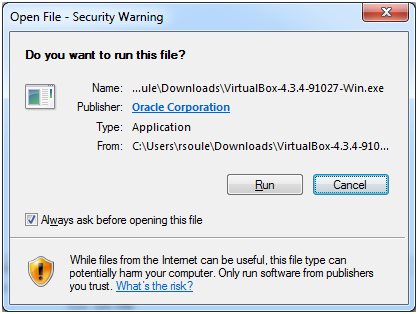
Click Run.
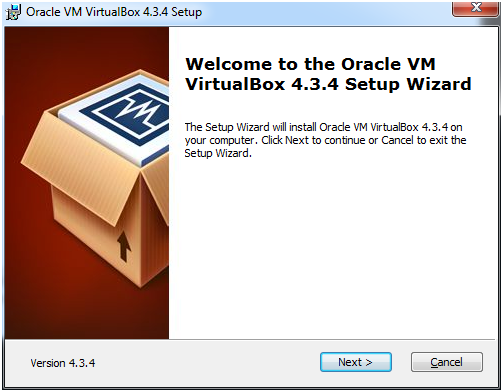
Click Next.
Click Next.

Click Next.

Click Yes.
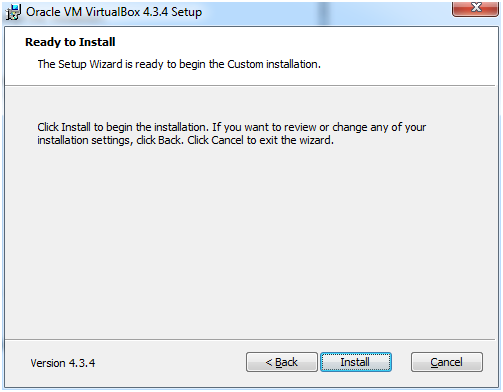
Click Install. At this point I got a Windows UAC popup which I accepted. Depending on your settings you may or may not get one.

Check Always trust software from “Oracle Corporation”, and click Install.

Uncheck the Start Oracle VM VirtualBox 4.3.4 after installation and click Finish.

Back in your browser, click the All supported platforms link for the Extension Pack.
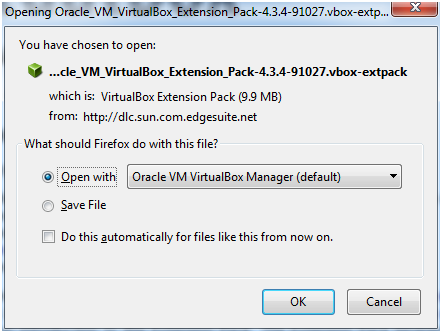
Click OK.
Accept the warning if it appears.

Click Install.

Scroll down to the bottom of the license agreement and click I Agree. I got a Windows UAC popup which I accepted.

Click OK.
You’re done with the Oracle VM VirtualBox installation.
Oracle Database 12c on Oracle Linux 6 – Assumptions <- Previous Post – Next Post > Oracle Database 12c on Oracle Linux 6 – Step 2: Download the Oracle Linux 6.4 iso


