Part of this series of posts: Oracle Database 12c on Oracle Linux 6

Right-click the desktop and select Open in Terminal to open a new terminal window.
Note:
This will reset all environment variables back to what we set them in the .bashrc.

Type the following commands and press Enter after each one.
unset ORACLE_SID
cd /stage/12.1.0/database/
./runInstaller

Uncheck I wish to receive security updates via My Oracle Support and click Next.

Click Yes.

Choose Skip software updates and click Next.

Choose Install database software only and click Next.
Note:
Yep, the Create and configure a database wizards still don’t do what you want them to do, so we’ll be using dbca after we’ve installed the software.
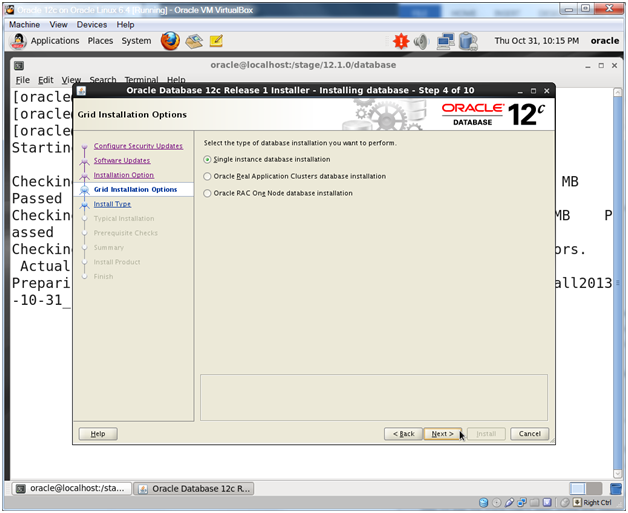
Choose Single instance database installation and click Next.
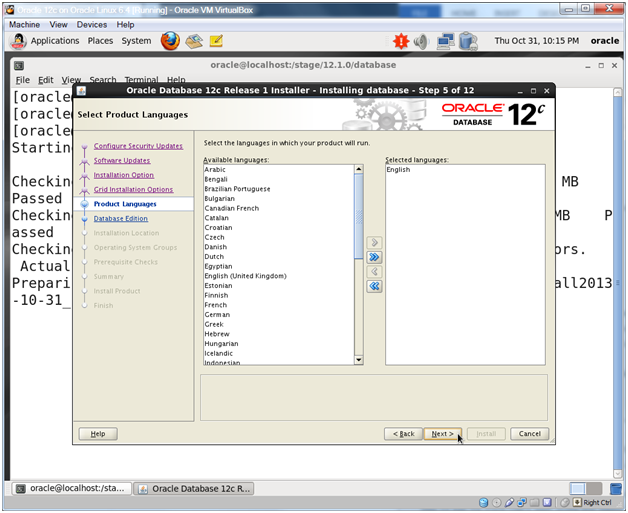
Click Next.
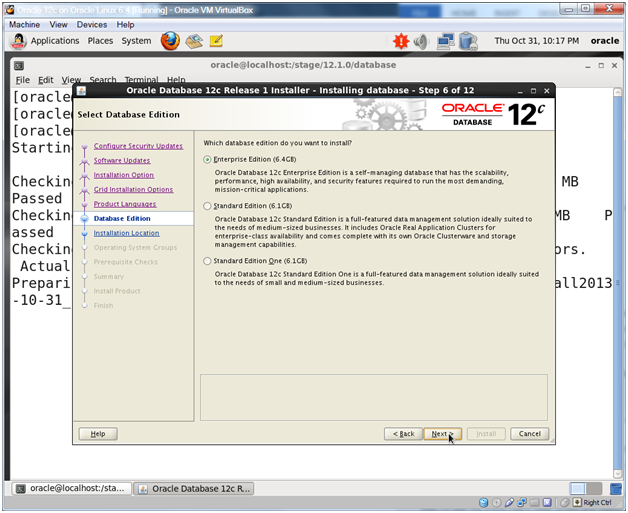
Choose Enterprise Edition and click Next.

Confirm that Oracle base is /u01/app/oracle and Software location is /u01/app/oracle/product/12.1.0/dbhome_1. Click Next.

Choose dba for all dropdowns and click Next.
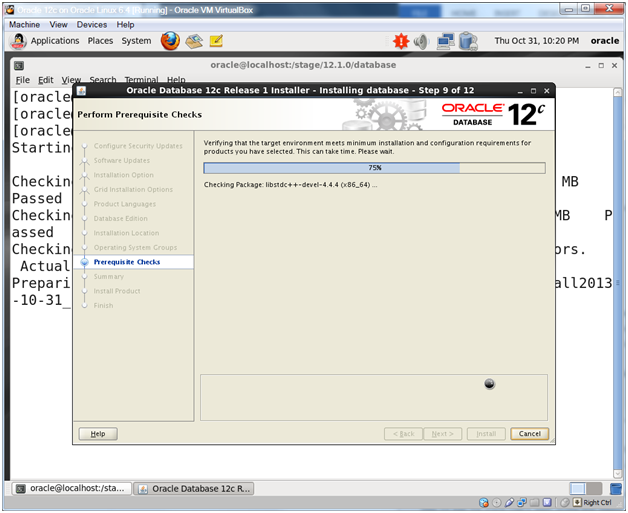
The installer verifies requirements.

Click Install.

The installer extracts files, links libraries and does the setup.
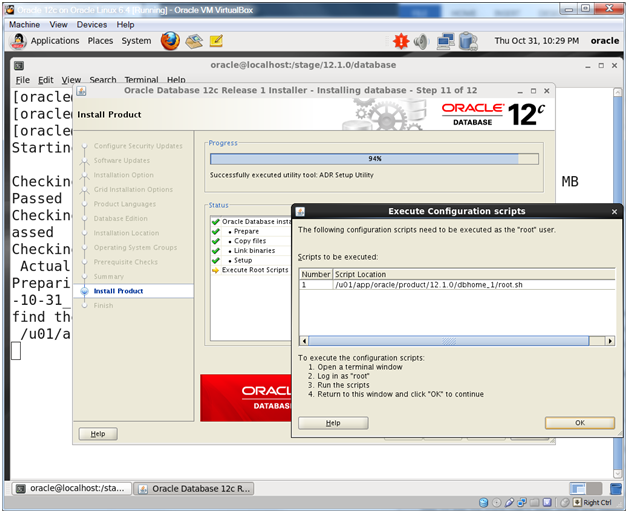
The install will progress for a while and then the above dialog will pop up.
Note that we need to run a script as root…

Right-click the desktop (you may have to minimize the terminal window you started the installer with) and select Open in Terminal.
Type the following command (note, there is a dash at the end of the line) and press Enter.
su -
Enter root at the Password prompt and press Enter.
Type the following commands and press Enter after each one.
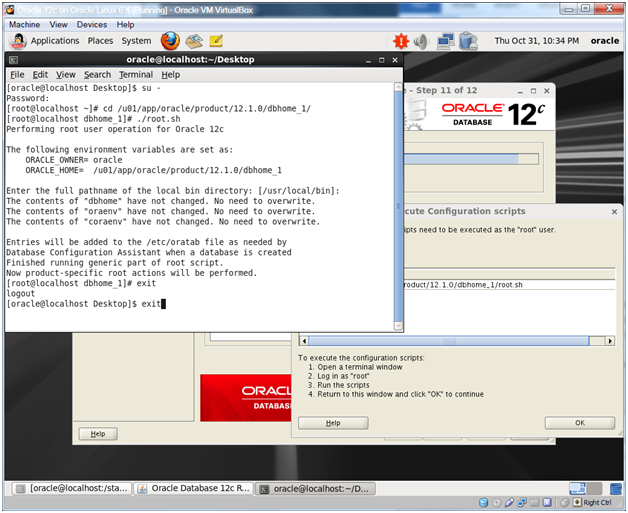
cd /u01/app/oracle/product/12.1.0/dbhome_1
./root.sh
Press Enter at the Enter the full pathname… prompt.
Optionally type exit twice to close down the terminal window.

Click OK.

Click Close.
Oracle Database 12c on Oracle Linux 6 – Step 23: Create the FRA Disk Group < Previous Post – Next Post > Oracle Database 12c on Oracle Linux 6 – Step 25: Create the orcl and pdborcl databases

April 23rd, 2014 at 7:21 pm
[…] Step 24: Install the Oracle Database Software Only […]
May 12th, 2014 at 6:02 pm
[…] Oracle Database 12c on Oracle Linux 6 – Step 22: Install Oracle Grid Infrastructure, Oracle Restart and ASM < Previous Post – Next Post > Oracle Database 12c on Oracle Linux 6 – Step 24: Install the Oracle Database Software Only […]
May 12th, 2014 at 6:06 pm
[…] Oracle Database 12c on Oracle Linux 6 – Step 24: Install the Oracle Database Software Only < Previous Post – Next Post > Oracle Database 12c on Oracle Linux 6 – Step 26: Modify glogin.sql […]