Part of this series of posts: Oracle Database 12c on Oracle Linux 6

Select Devices -> Install Guest Additions… from the VirtualBox menu. You’ll have to use the right Ctrl key to release the mouse to do so.

Click Cancel.

Right-click the desktop and select Open in Terminal.

Type the following commands, pressing Enter after each.
su -
root (at the Password: prompt)
export KERN_DIR=/usr/src/kernels/`uname –r`
cd /media/V [TAB]
./VBoxLinuxAdditions.run
Note:
Those are back ticks which are probably next to the 1 key on your keyboard, not forward ticks in the export command. The Tab key will autocomplete commands for you. When we type cd /media/V the shell will complete the name of the Virtualbox Guest Additions CD for you. It’s much easier than typing it. If you’d like to use the Tab key to autocomplete the second command, you’ll have to type up to the L in Linux before it will work because there are other commands in that directory that start with VBox. You can always hit the Tab key twice to see what the shell will be able to autocomplete based on your search path.
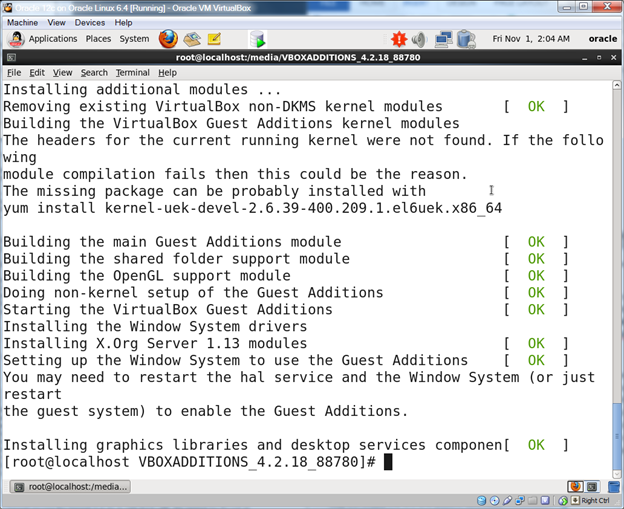
You should see output with all green OKs.
Note:
If you get a failed message it’s most probably because your kernel doesn’t match the kernel sources which usually means that your yum update kernel-uek-devel command from earlier didn’t work correctly. Recheck your commands from Step 9 to make sure you did everything correctly.
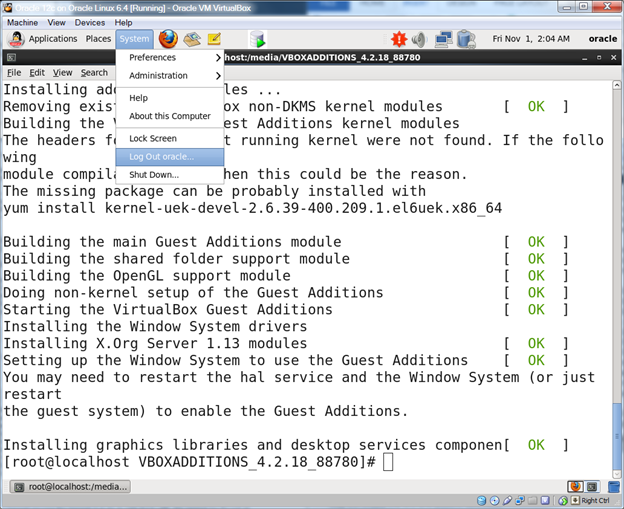
Select System -> Log out oracle… from the menu.
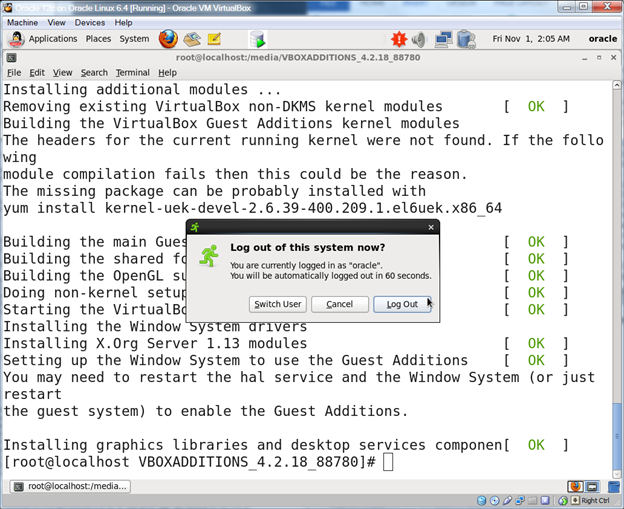
Click Log Out.

Press Enter and type oracle in the Password field.
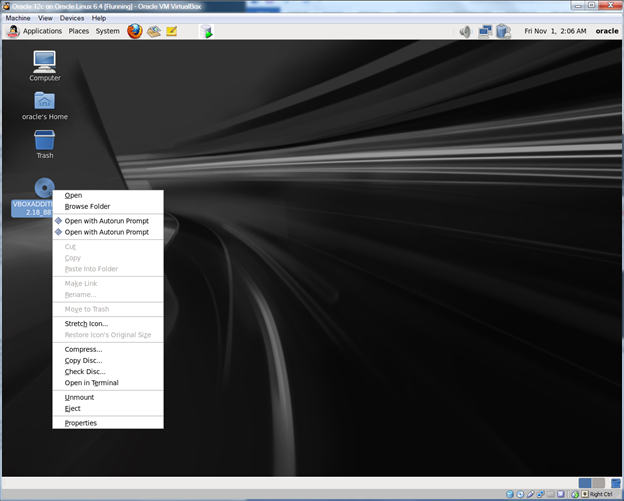
Right click the Guest Additions CD and select Eject.

Your window should now resize to fill the whole screen!
Note:
We could actually do this step a lot earlier and get the nice widescreen if we want. It was just a bit harder to do screen captures for me so I stuck this at the end. This must be done AFTER the reboot in step 18 though…
Oracle Database 12c on Oracle Linux 6 – Step 29: Create a Link to SQL Developer and Database Connections < Previous Post – Next Post > Oracle Database 12c on Oracle Linux 6 – Step 31: Enjoy a frosty beverage!

April 30th, 2014 at 5:46 am
[…] Step 30: Install the VirtualBox Guest Additions in the VM […]
April 30th, 2014 at 11:37 pm
[…] Oracle Database 12c on Oracle Linux 6 – Step 30: Install the VirtualBox guest additions in the VM < Previous Post – Next Post > I couldn’t have done it without you… […]
May 12th, 2014 at 6:15 pm
[…] Oracle Database 12c on Oracle Linux 6 – Step 27: Configure the Pluggable Database to Autostart on Reboot < Previous Post – Next Post > Oracle Database 12c on Oracle Linux 6 – Step 30: Install the VirtualBox guest additions in the VM […]
February 16th, 2025 at 10:20 am
I find the step-by-step instructions very helpful.