Part of this series of posts: Oracle Database 12c on Oracle Linux 6

Type the following commands, pressing Enter after each one.
cd /stage/12.1.0/grid/
./runInstaller

You’ll see some output from the script about Temp space, swap space and monitor checks. It may take a while for the next screen to pop up.

Choose Skip software updates and click Next.

Choose Install and Configure Oracle Grid Infrastructure for a Standalone Server and click Next.

Click Next.
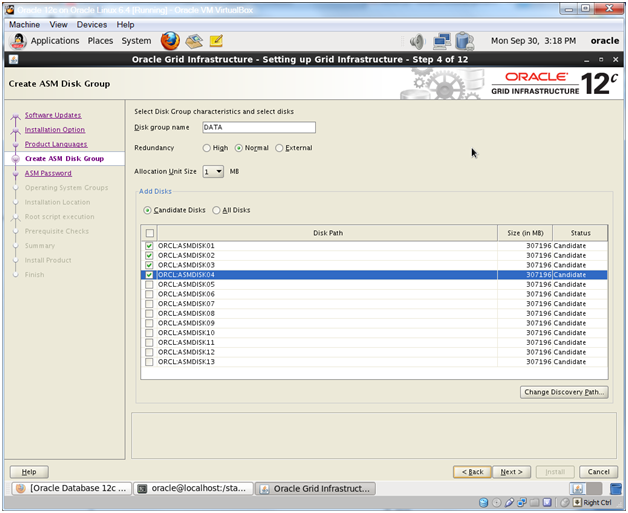
Check the first 4 ASM disks, ORCL:ASMDISK01 through ORCL:ASMDISK04 and click Next.
Note:
If you are not using ASMLib on Oracle Linux during this step you’ll have to use the Change Discovery Path… button and navigate to /dev/oracleasm/disks/ to find your ASM disks.

Choose Use same passwords for these accounts, enter oracle_4U for both fields and click Next.
Note:
oracle_4U meets the password complexity requirements for the database, but it’s a bad password to use because it’s based on a dictionary word (oracle) and it’s used in the Oracle training material. It is an easy password to remember once you’ve typed it a few hundred times.

Choose dba from all three dropdowns and click Next.
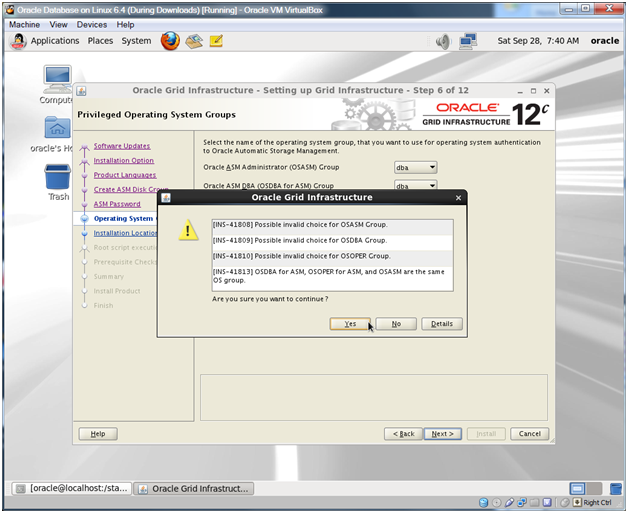
Click Yes.
Note:
The value of using multiple groups for each of the potential roles is to allow for the possibility of separation of responsibilities. In large shops some personnel could be assigned to each of the different groups and would then only be able to perform certain ASM functions

Change Software location from /u01/app/oracle/product/12.1.0/dbhome_1 to /u01/app/oracle/product/12.1.0/grid as in the next screenshot.
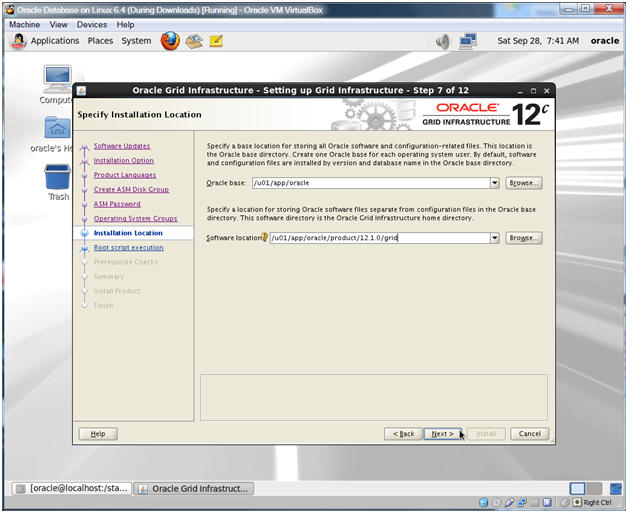
Click Next.

Click Next.

Make sure that Automatically run configuration scripts is checked and Use ‘root’ user credentials is selected and type root in the password field. Click Next.

Prerequisite checks are run…
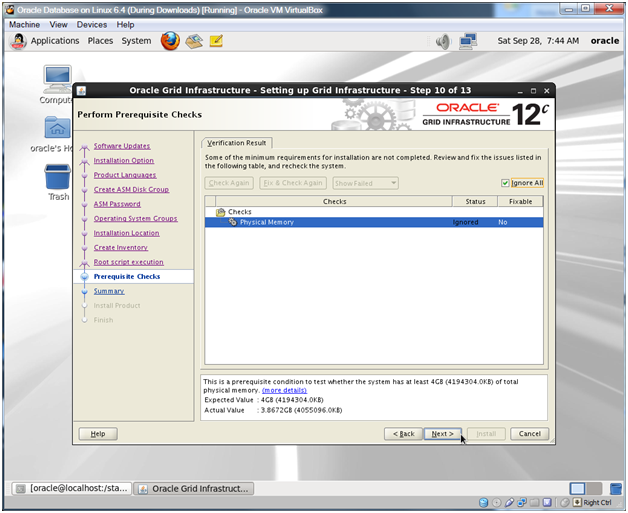
Check Ignore All if you get a memory error and click Next.
Note:
You shouldn’t get this error if you allocate a bit more than 4 GB of ram. I went with 6 GB of ram for the VM the 2nd time around and didn’t get this error. There is probably an amount of ram that is too small for you to be able to continue.
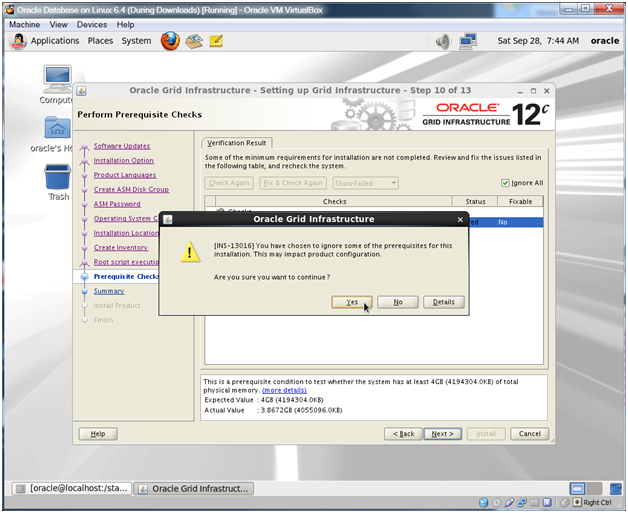
Click Yes.

Optional: Click Save Response File.
Note:
It’s never a bad idea to have a response file from your install as it contains all of your install information and it can be used for future installs. It’s a simple text file that can be updated with any text editor.

Optional: Click Save.
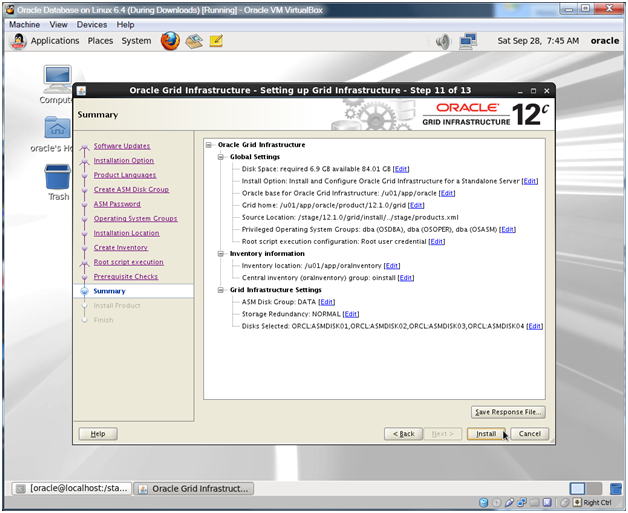
Click Install.

The grid infrastructure installs…
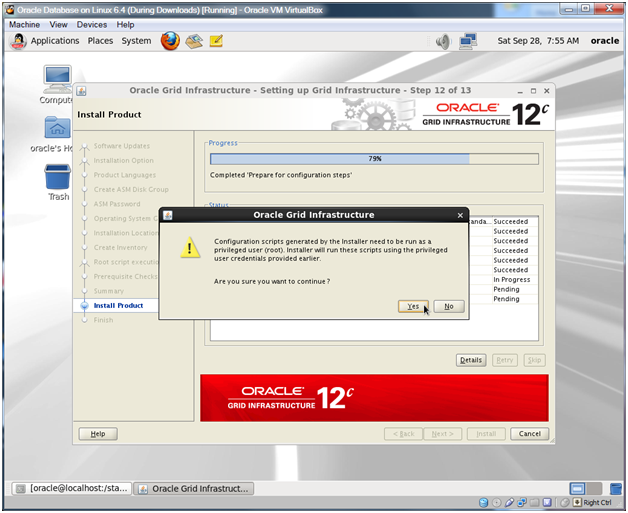
Click Yes.
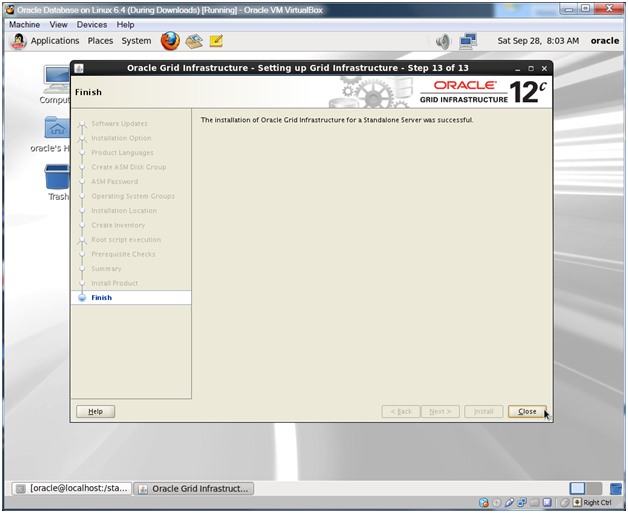
Click Close.
Oracle Database 12c on Oracle Linux 6 – Step 21: Edit the oracle User’s .bash_profile and .bashrc < Previous Post – Next Post > Oracle Database 12c on Oracle Linux 6 – Step 23: Create the FRA Disk Group

April 21st, 2014 at 6:49 pm
[…] Step 22: Install Oracle Grid Infrastructure, Oracle Restart and ASM […]
May 12th, 2014 at 5:58 pm
[…] Oracle Database 12c on Oracle Linux 6 – Step 20: Download and Extract Oracle Database 12c Grid Infrastructure < Previous Post – Next Post > Oracle Database 12c on Oracle Linux 6 – Step 22: Install Oracle Grid Infrastructure, Oracle Restar… […]
May 12th, 2014 at 6:02 pm
[…] Oracle Database 12c on Oracle Linux 6 – Step 22: Install Oracle Grid Infrastructure, Oracle Restar… < Previous Post – Next Post > Oracle Database 12c on Oracle Linux 6 – Step 24: Install the Oracle Database Software Only […]