Part of this series of posts: Oracle Database 12c on Oracle Linux 6

Click Start.

You can click the message and check the Do not show this message again checkbox and then click the little blue x in the top right hand corner. Type Enter to select the Install or upgrade an existing system.

Again, you can click the message and check the Do not show this message again checkbox and then click the little blue x to dismiss the message. Use the Tab key to move the select to Skip and press Enter.

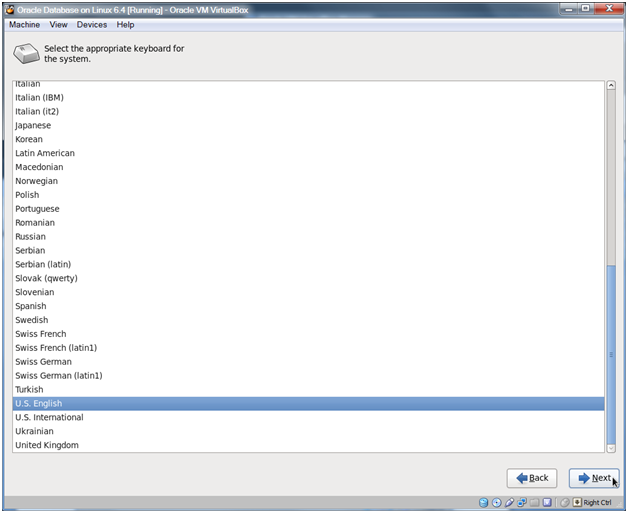
Click Next.

Click Next.
Click Next.

Click Next.
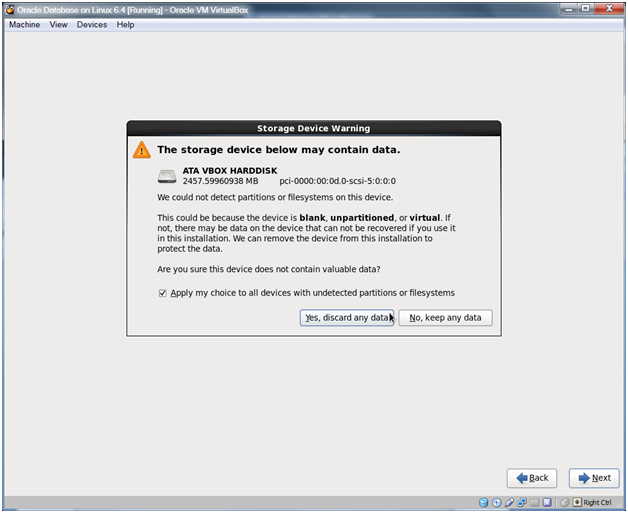
Click Yes, discard any data.
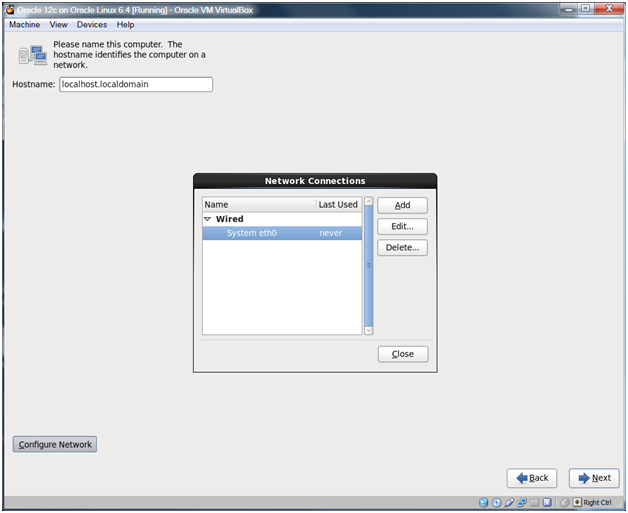
Click Configure Network, select the System eth0 Network Connection and click Edit…
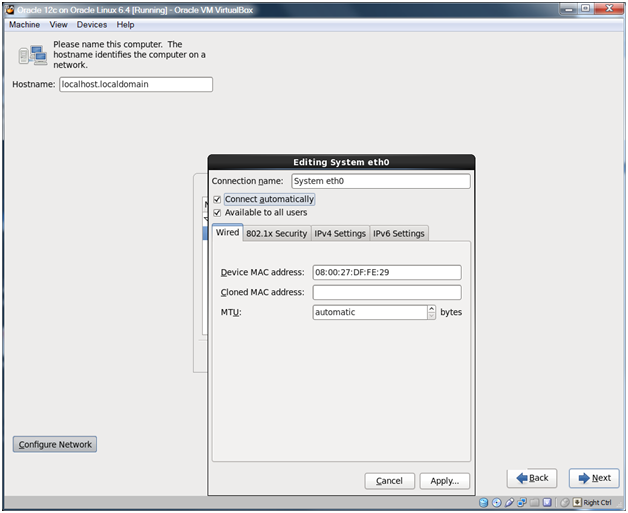
Check the Connect automatically selection and click Apply…
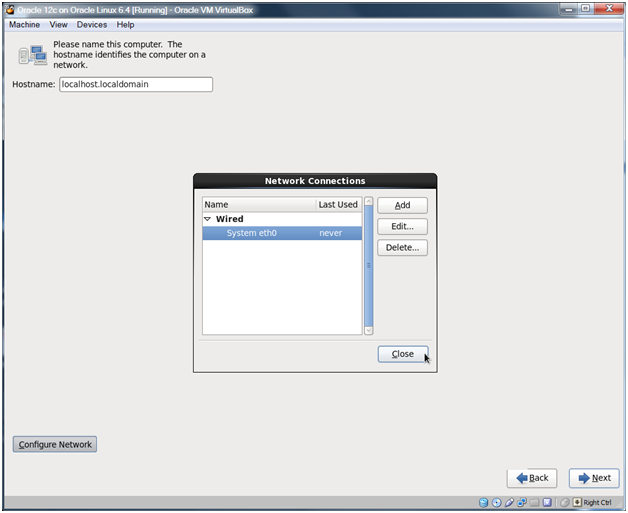
Click Close.
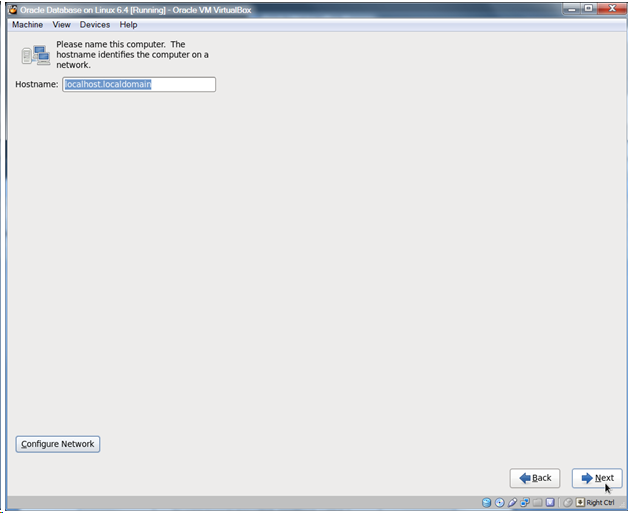
Click Next.
Note:
You could change the name of the machine here if you wish, but the guide assumes that you’ve left the default of localhost.localdomain.
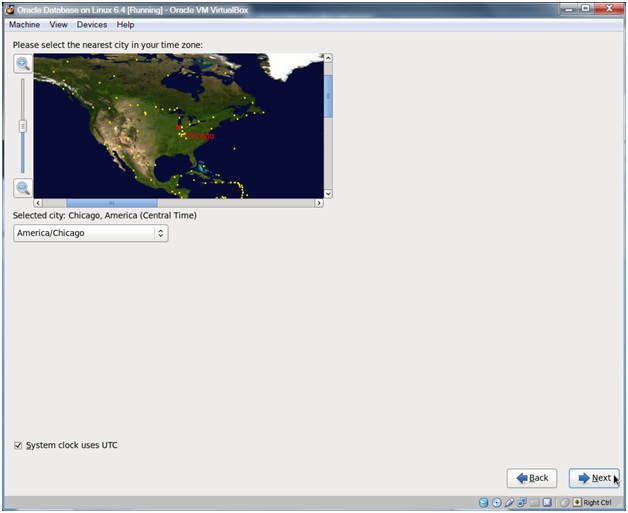
Select a city in your time zone and click Next.

Enter a password for the root user and click Next.
Note:
I use rootroot as the password. We’ll change it to root after we have installed. This generates the below alert.
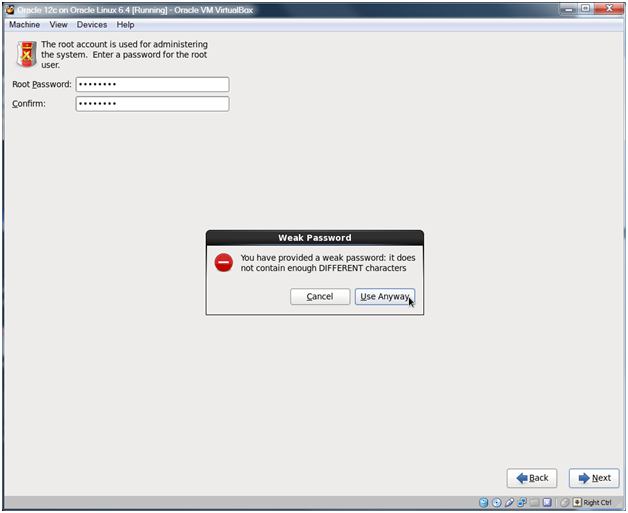
Click Use Anyway.
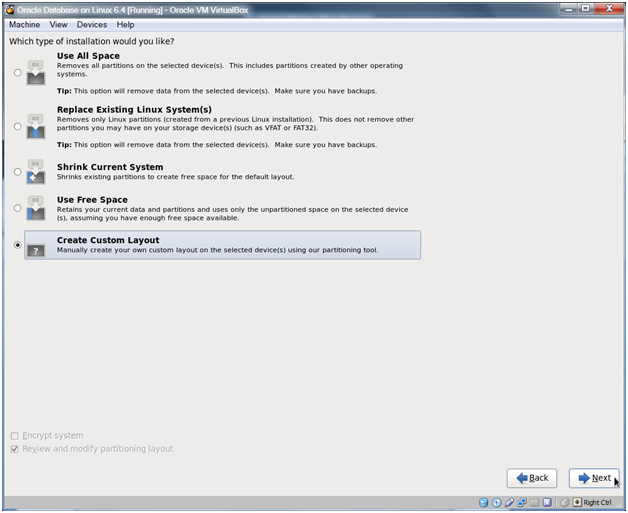
Choose Create Custom Layout and click Next.

Select the Free partition under sda and click Create.

Choose Standard Partition and click Create.

Use the check box next to the Drive to deselect all drives.
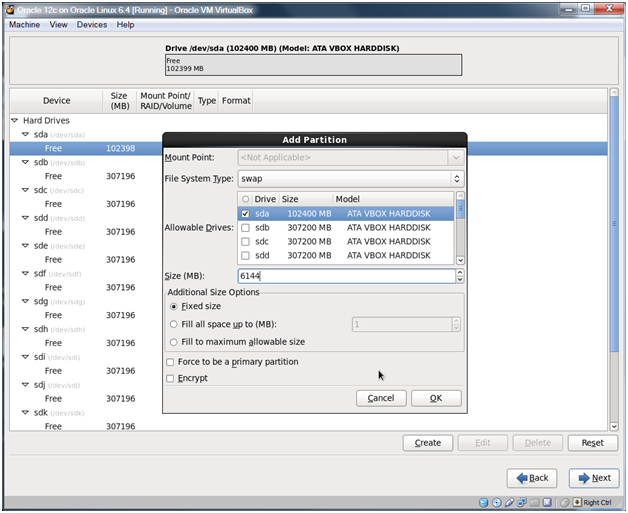
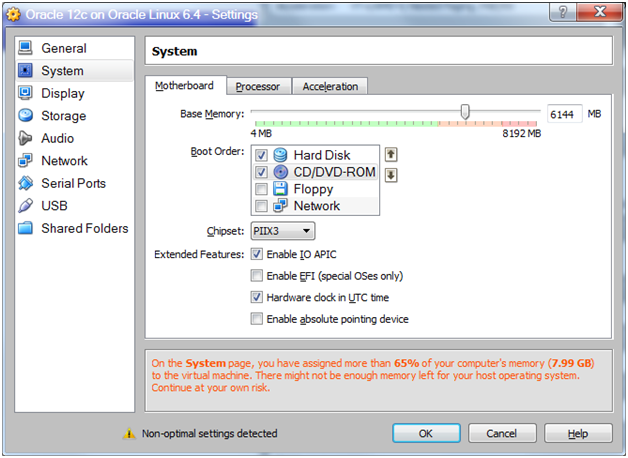
Change the File System Type to swap, check sda, and set the size to 6144 and click OK.
Note:
I used 6144 because I set my memory size to 6 GB (6144 = 1024 x 6). If your memory size is 4 GB or more you can set this to your memory size. If your memory size is less than 4 GB you can set this to double your memory size.

Select the remaining Free space on sda and click Create.

Choose Standard Partition and click Create.

Use the Mount Point dropdown and choose / as the mount point. Again, deselect all the drives and check sda. Choose Fill to maximum allowable size in the Additional Size Options box. Check the Force to be a primary partition box and click OK.

You should see the above configuration. Click Next.

Click Format.

Click Write changes to disk.

Click Next.
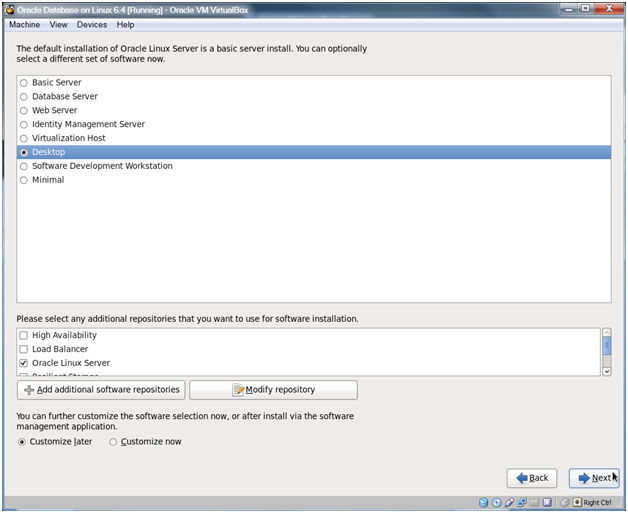
Choose Desktop and click Next.

The install will take a while.

Click Reboot.
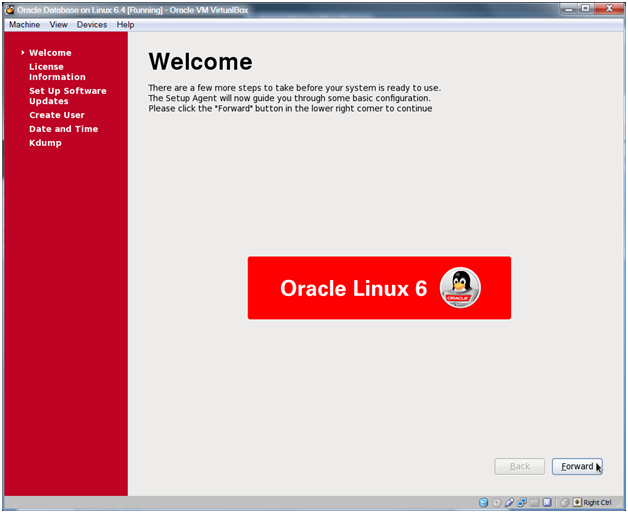
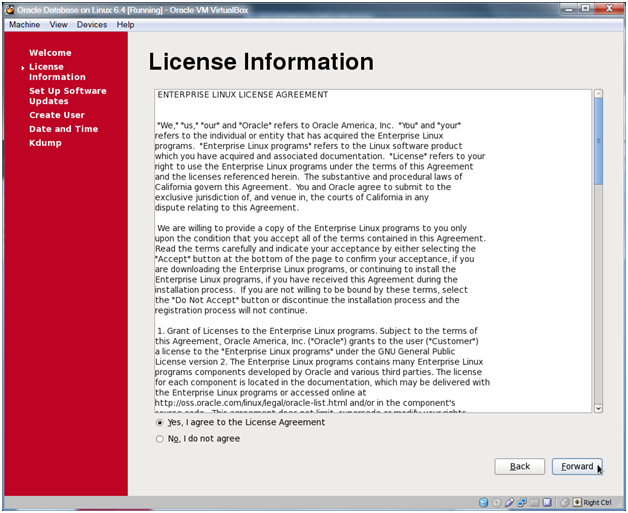
Click Forward.
Click Forward.
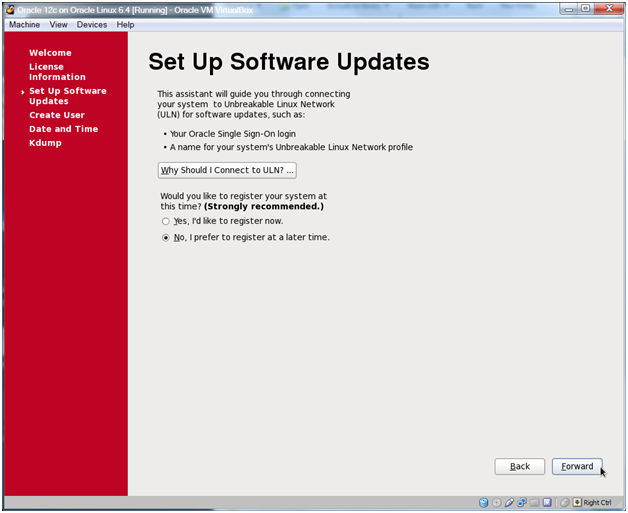
Choose No, I prefer to register at a later time and click Forward.
Note:
Oracle Linux Network Support for a year is only $119 and can be purchased at shop.oracle.com. This would give you a valid Oracle CSI which would allow you use the Oracle support system which has a ton of resources. If you do get a support license then you can use the Yes, I’d like to register now choice above.

Click No thanks, I’ll connect later.

Click Forward.
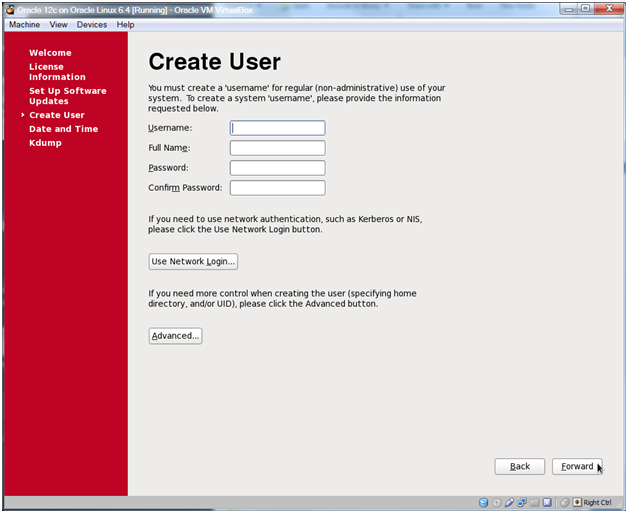
Click Forward.
Note:
If you decide to create a non-root user here then you’ll have an additional choice at the login screen for the system. You should not create the oracle user here as we’ll be using a specific package from Oracle to create the oracle user.

Click Yes.
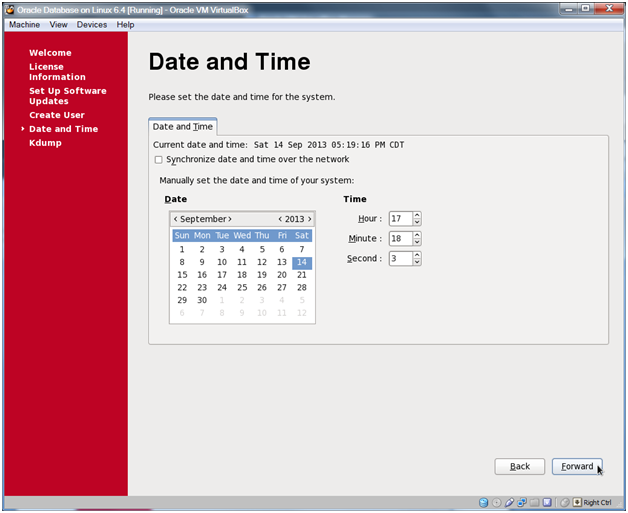
Set your date and time or choose Synchronize date and time over the network and click Forward.

Oracle Database 12c on Oracle Linux 6 – Step 3: Configure an Oracle Linux Virtual Machine < Previous Post – Next Post > Oracle Database 12c on Oracle Linux 6 – Step 5: Disable the Firewall, iptables and SELINUX